In my previous posts I walked through the process to author ARM templates using VS Code and the Azure Resource Manager (ARM) Tools extension. In this post I will walk through the process to author ARM templates from scratch using the Azure portal’s Custom Deployment feature. It’s handy for getting started with ARM template authoring, but as you will see below, creates resources with old API versions, bloats the variables element, and creates the variables element at the bottom of the template. This isn’t exactly a problem, but my preference is to have them towards top of the JSON file above the resources element.
In this ARM template I am are simply going to deploy:
- 1 x Windows Server 2019 Datacenter Virtual Machine
- 1 x Network Interface
- 1 x Virtual Network
- 2 x Subnets
- 1 x Storage Account
Create the Template
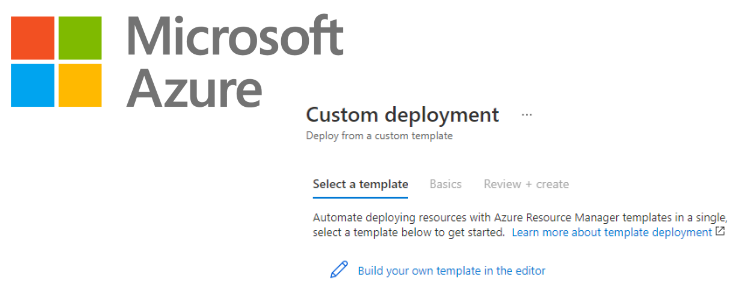
Start by logging into the Azure portal and typing “deploy” into the search bar. Select Deploy a custom template.

Click Build your own template in the editor.

Once you are in the editor, click Add resource.

In the Select a resource drop-down list, select Virtual network.

Give it a name. In the example below I simply named it vnet1. Click OK.

Below you will see the json configuration for the VNet configured for you. Notice the apiVersion of 2015-06-15. I’m unsure why Azure uses this old version.

And scrolling down to the variables part of the template, you can see the values Azure has created by default for the VNet address space and two subnets.

Next, scroll back up to the top of the template and click Add resource. In the Select a resource drop-down list, select Storage Account and give it a name. I named mine stg. Click OK.

Now we have a parameters element containing the storage account type.

Further down you can see the Storage Account resource.

And another variable has been added for the Storage Account name. Notice the name I gave of stg has been concatinated (joined) with a unique string.

Scroll back up to the top of the template and click Add resource. In the Select a resource drop-down list, select Windows Virtual Machine. I named it vm1 and selected and existing Storage Account (stg) and Virtual network (vnet1). Click OK.

More parameters have been created for the VM Name, the admin username, admin password, and the OS version. The OS version has a defaultValue of 2019-Datacenter. This is in case the vm1WindowsOSVersion parameter is not specified at time of deployment.

Now looking at the resources section we can see a Network Interface (NIC) has been defined to be added with a subnet specified. The NIC has a dependency on vnet1 being created first.

The next resource is the Virtual Machine. This also has two dependencies. The Storage account and the NIC.
So looking at the resource’s dependencies, the Storage Account and VNet will probably be created first in parallel, then the NIC will be created once the VNet completes, and finally the VM will be after the Storage Account and NIC are fully provisioned.

And now the variables section contains a load more for the VM.

Now that the final resource has been created, you can scroll to the top and select Download to save a copy and inspect the JSON file.

Deploy the Resources
And once you are ready to deploy, at the bottom of the custom template, click Save. From the drop-down menus, select the Subscription and Resource group to deploy these resources.

The region will be the location of the resource group you just selected, as specified in the template. The Storage Account is Standard_LRS as specified as the default in the parameters element. And the rest of the VM parameters are populated. Click Review + create.

Once the resources have finished deploying click Go to resource group.

Then you will be presented with the four resources

Clean-up the Resources
To clean-up the resources after you are done with them and to avoid any unnecessary spend, delete the Resource Group.
Summary
As I mentioned at the beginning of the post, authoring ARM templates using the Azure portal’s Custom deployment feature is handy for getting started with ARM template authoring, but I don’t think provides the best practices for development. This would surely fail any arm-ttk tests and also lacks the ability to automatically create any advanced features such as functions and loops etc.
The full JSON file for the resources created above can be found on GitHub